Time to sharpen up!

You will need
- Something to draw with
- An appreciation for bow ties
How to draw a fox
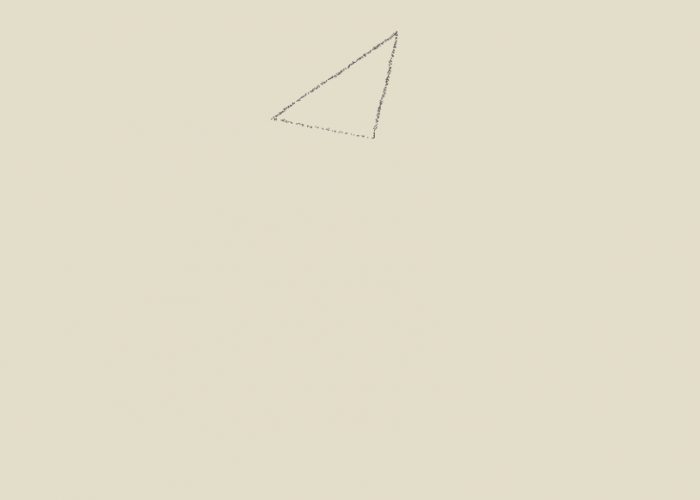
Step 1
Draw a triangle, a bit like a witch’s hat that’s slightly falling off.
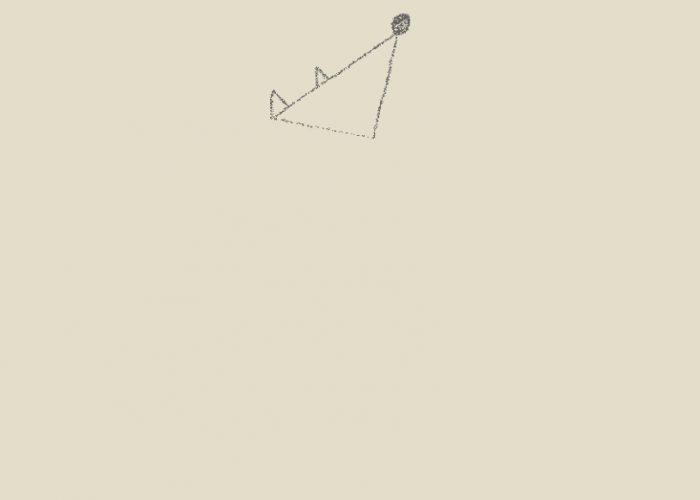
Step 2
Add two small triangles for ears. The smaller ear should be just about to creep past the halfway point. Then draw a bauble for a nose.
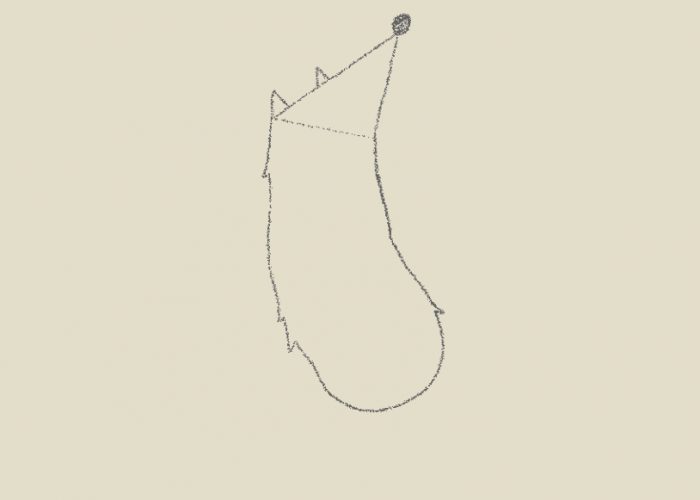
Step 3
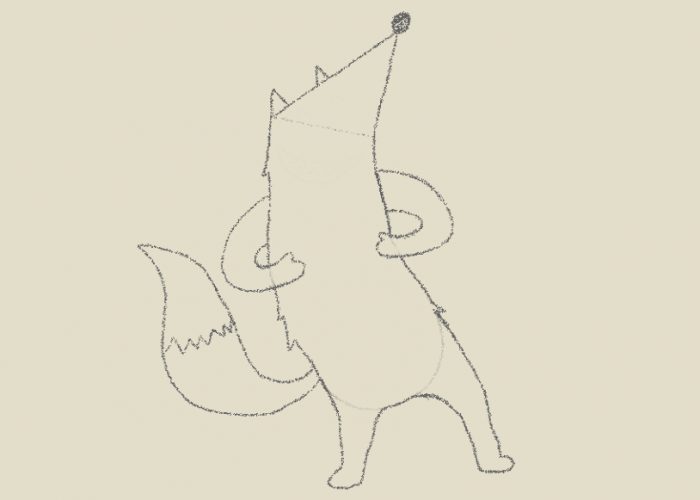
Fox’s body should hang down from its face like a long kidney bean. Make the line a little jagged to create tufts of fur. Make sure the bean (sorry, body) bends round to the right – it adds to Fox’s swagger!
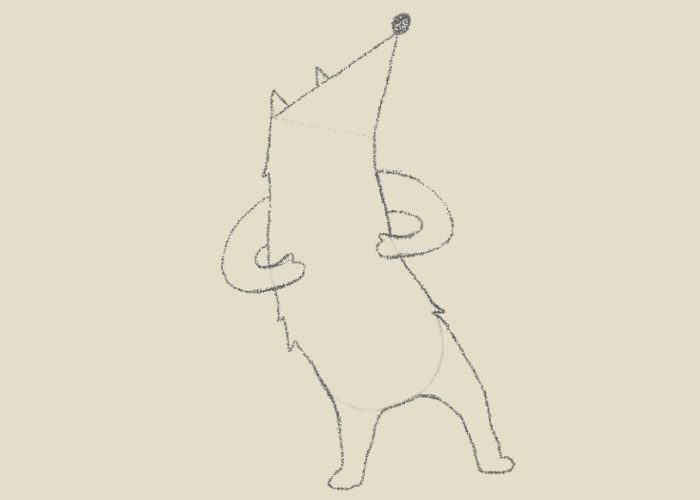
Step 4
The arms should curl around the body like handles on your favorite mug. Don’t worry about details when it comes to fingers, just draw a little thumb at the top of each hand. The hands should be at the halfway mark down the body. Then draw the legs, starting wider at the top and ending with little lips as paws. The back foot should be at a slight angle, to take the weight of his body – the front leg can be a bit more showbiz!
Step 5
It’s tail time. Make it nice and bushy and draw a zig-zag across the middle.
Step 6
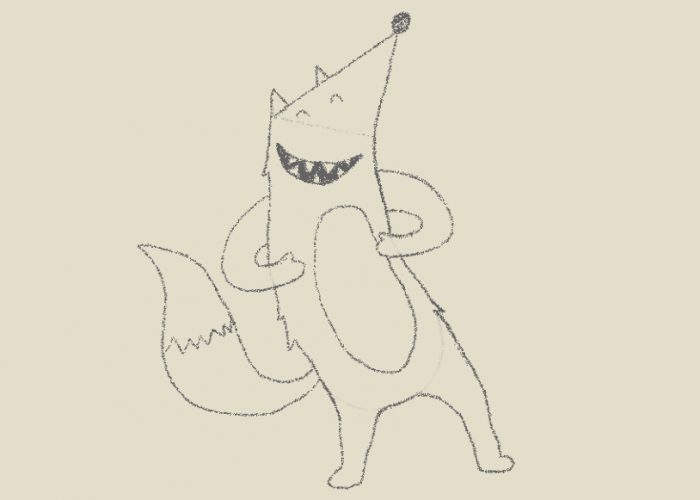
Draw two tiny semicircles for the eyes, just beneath the ears. The mouth should resemble a slice of watermelon, flecked with pointy teeth. Then, draw a nice oval for his belly, following the shape of the body, leaving more space in the back than front.
Step 7
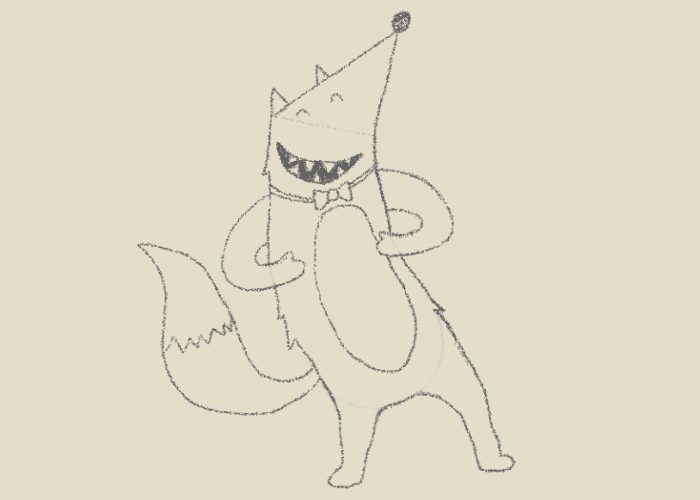
Add that marvelous bow tie. Make it as fancy as you like.
Step 8
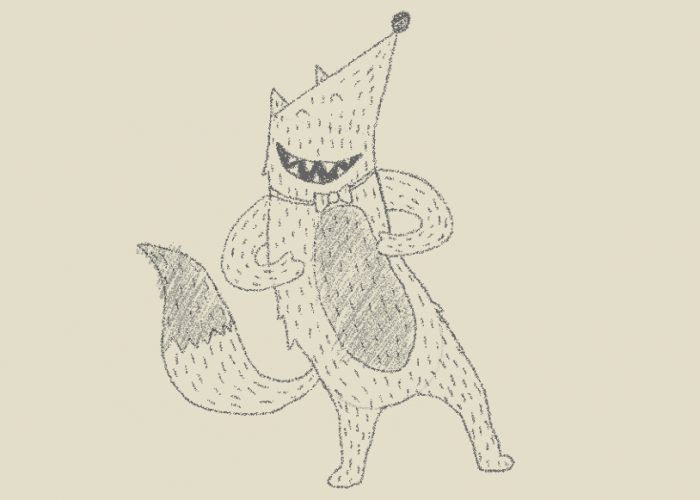
Draw flecks all over his body (if you’re going to color him in, you could add the flecks later instead).
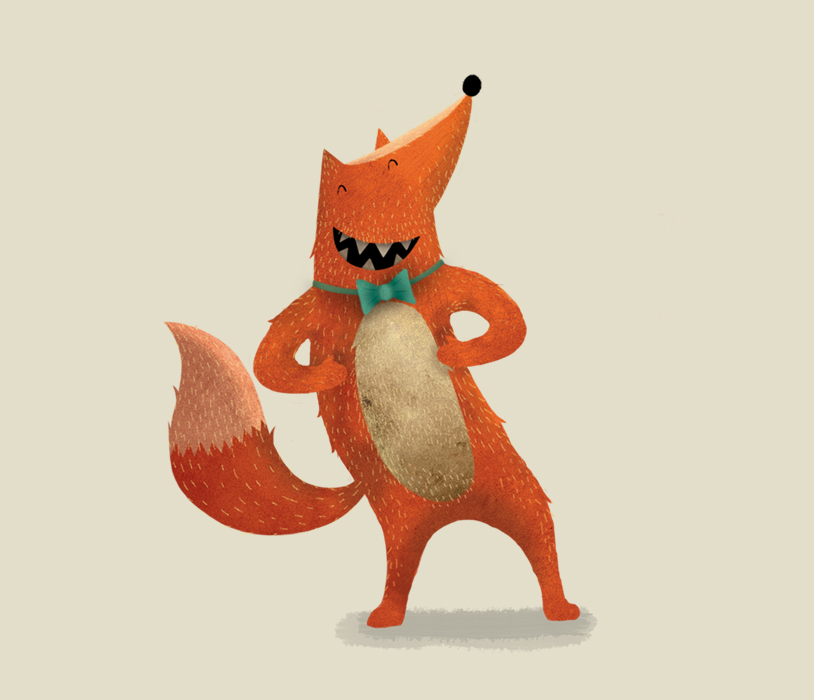
Coloring time!
Add some color! Our Fox is a delightful red and his bow tie is emerald green. Lovely!
You’ve drawn a fox!
This fox is just one of the characters in The Little Boy/Girl Who Lost Their Name, our best selling personalized picture book. In the story, it offers the protagonist the letter F for Fox. So children named Freddie, Laif, Effie and Francis will get to meet it in their books. See it for yourself by browsing our products below.
