
Home is where the art is
The kids are off school and you’re flat out of half term activities. Eek! Don’t worry, you’ve come to the right place. We love thinking of crafty things to do in half term – and this one’s a corker of an activity that’ll keep little ones from getting (card)bored. Bonus: it’ll get them reading, too!

You’ll need:
2 x large cardboard boxes
Gaffa tape
Stanley knife
Tape measure
Pencil
Paints
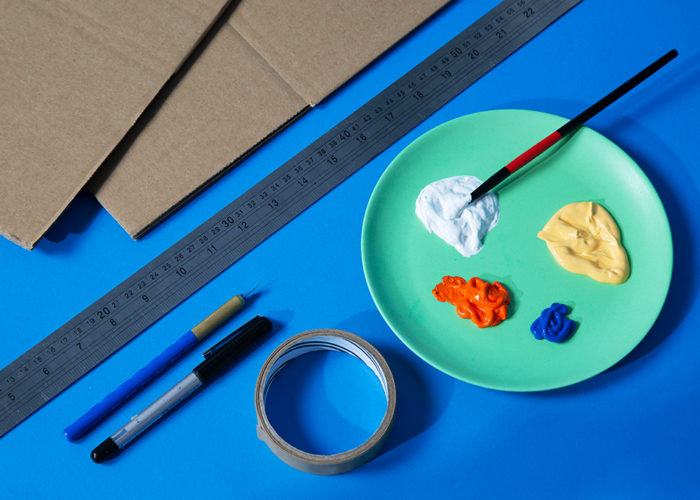
Step 1
Gather up all the things you need. In the words of our friend Benny Franklin, “By failing to prepare, you are preparing to fail.”
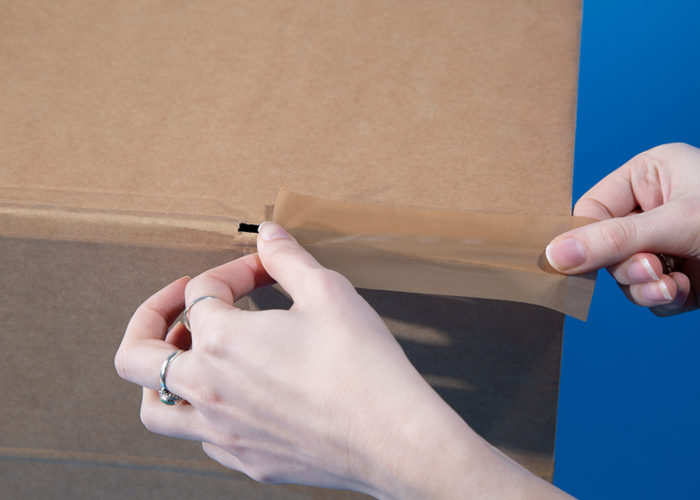
Step 2
Take the first cardboard box. Open the flaps at the top then tape ‘em up on both sides.
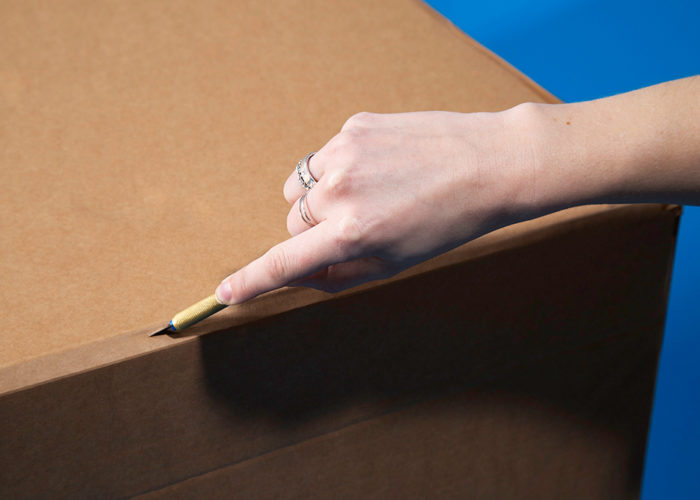
Step 3
Turn the taped-up box on its side and cut off the top panel with your Stanley knife. (This part’s not so good for little fingers.)
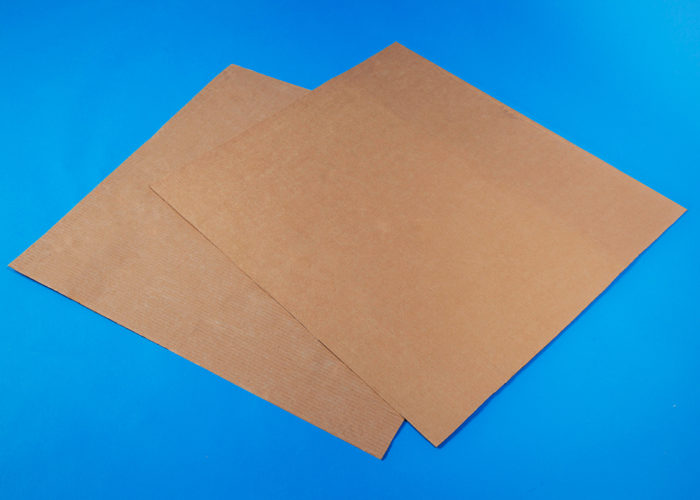
Step 4
Flatten the second cardboard box. Place the top panel that you just snipped off on top of the second box and cut out a matching piece of cardboard. #twinning
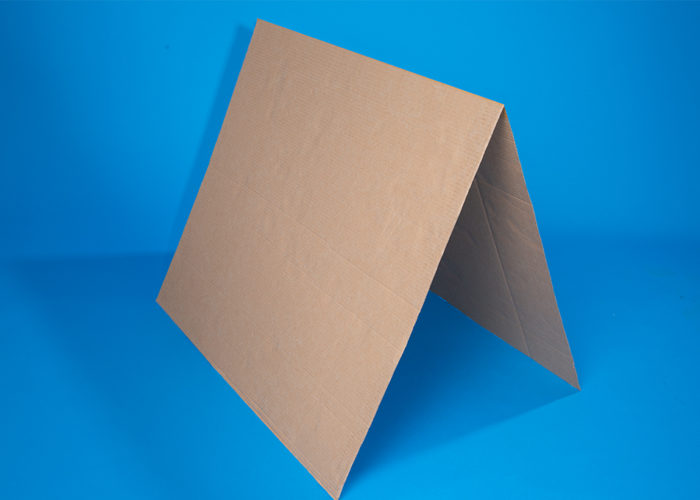
Step 5
Tape the two matching pieces together. We’ve made a roof, people.
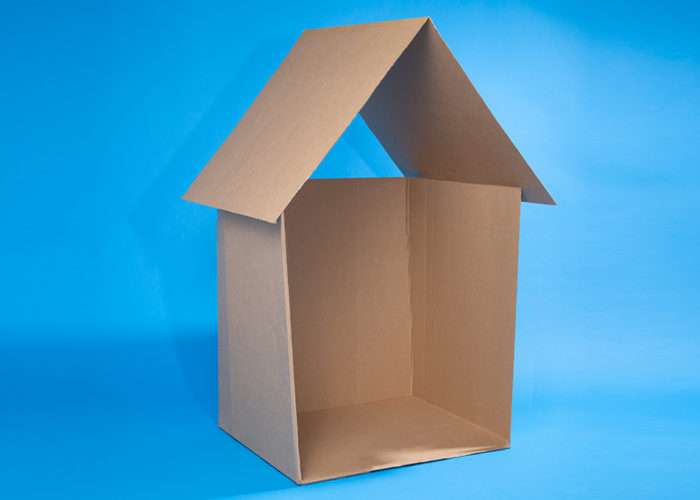
Step 6
It’s time to raise the roof. No, really! Put your new roof on top of the first box, then tape them together.
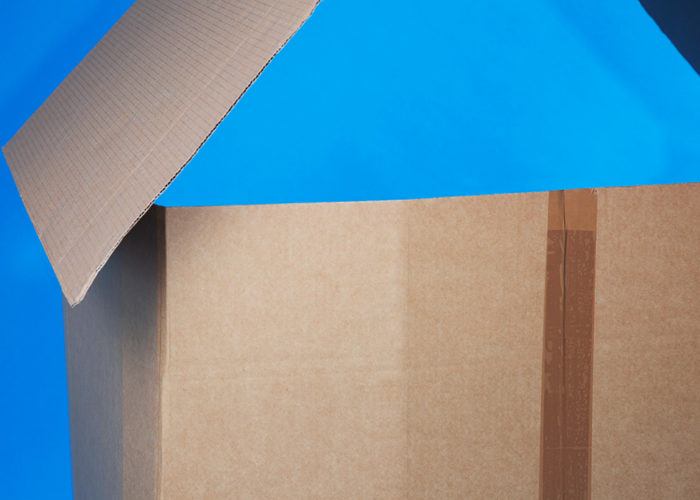
Step 7
Cut down the middle of the back wall and the floor, then tape both bits up. Huzzah – we’re collapsible, baby! Marie Kondo would be in awe of how storage-friendly this cubby is.
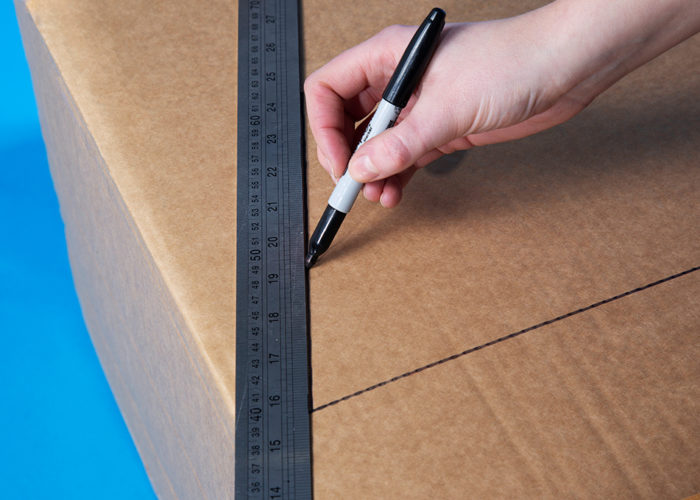
Step 8
Draw a couple of windows on the cubby sides with your pencil. Then, using grownup hands, cut them out with a knife. Now you can keep an eye on the neighbours.
Step 9
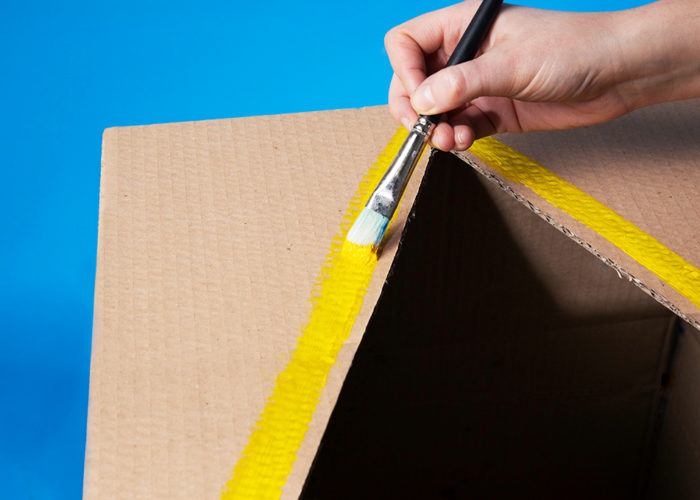
Use your colourful-est paint to give this cubby a touch of class. We plumped for thick lines along the walls and around the windows. But we’re sure you’re bursting with your own iridescent ideas.

Step 10
It’s moving in day. Grab all the blankets, soft toys and – most importantly – BOOKS you can find. Then settle into your cosy cardboard cubby house.
Did you know?
The first commercially-produced cardboard box was made in England in 1817 by a clever chap called Sir Malcolm Thornhill. We’re fairly sure that he used it to create a cosy cardboard cubby house.