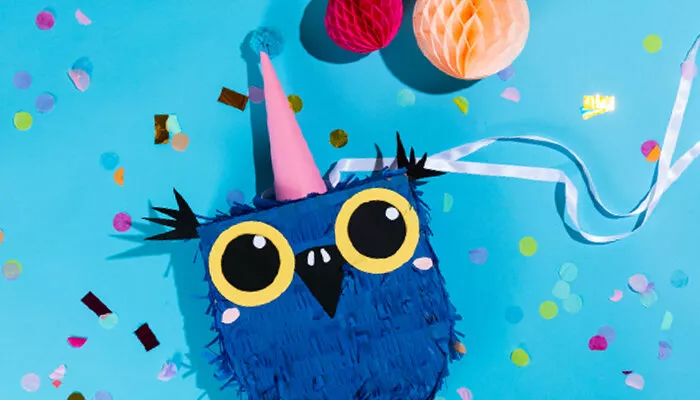
Gonna piñata like it’s your birthday
Is there anything more satisfying than smashing a sweet-stuffed piñata to smithereens? Here’s an easy step-by-step tutorial for a truly terrific pièce de résistance at any birthday party. Ready… steady… thwack!
You’ll need:
Paper
Cardboard
Scissors
Tissue paper
Masking tape
Double-sided tape
Glue
Sweets
Step-by-step piñata
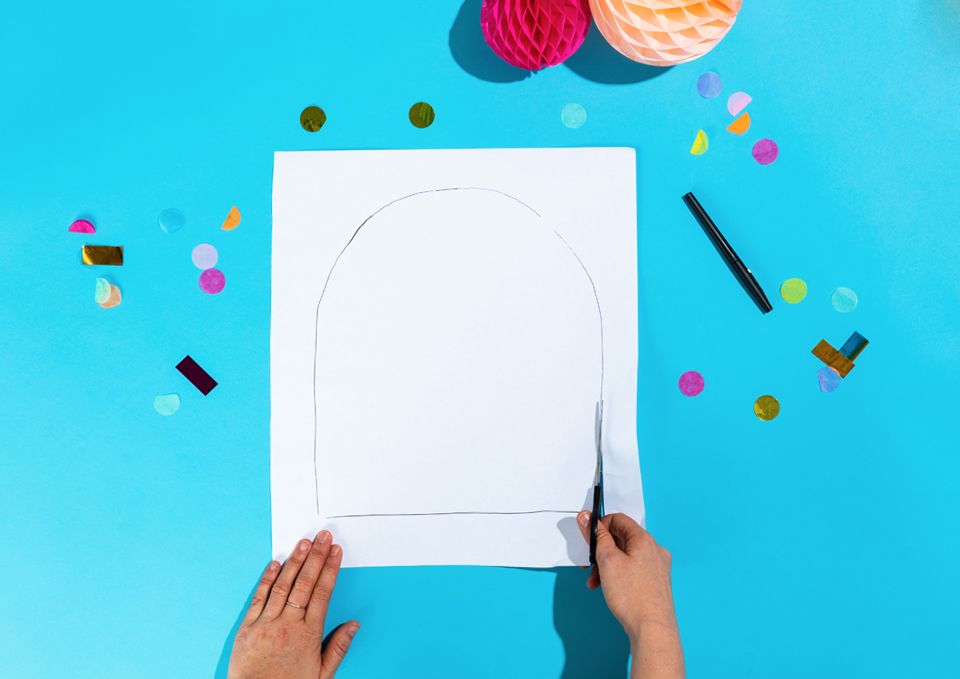
1.
Draw your animal design onto paper and cut it out. This is your template.
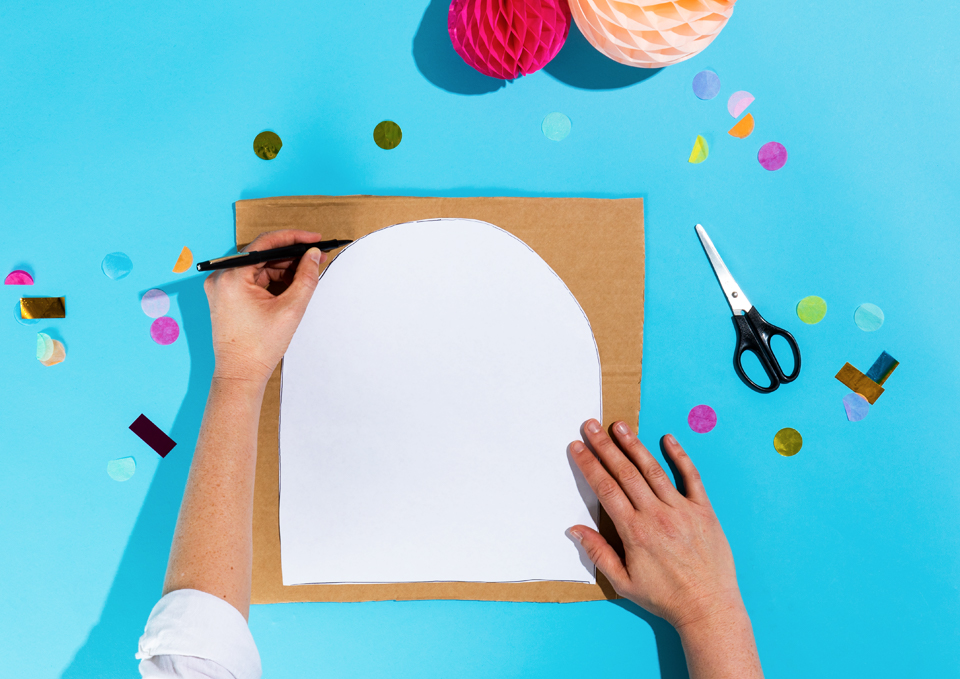
2.
Using your template, draw around it onto cardboard two times.
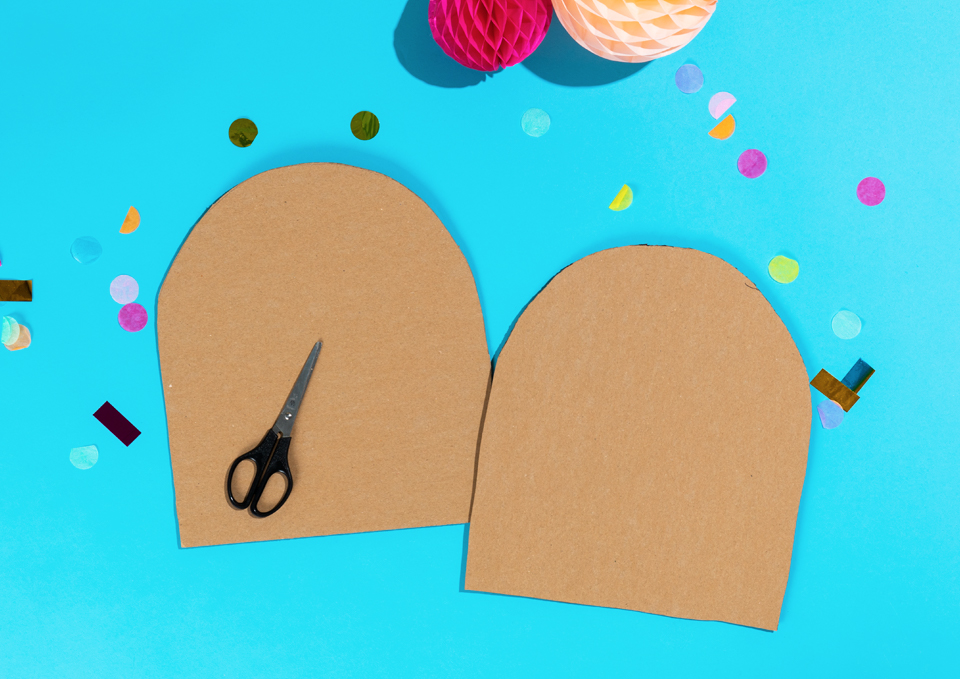
3.
Cut out your two cardboard pieces.
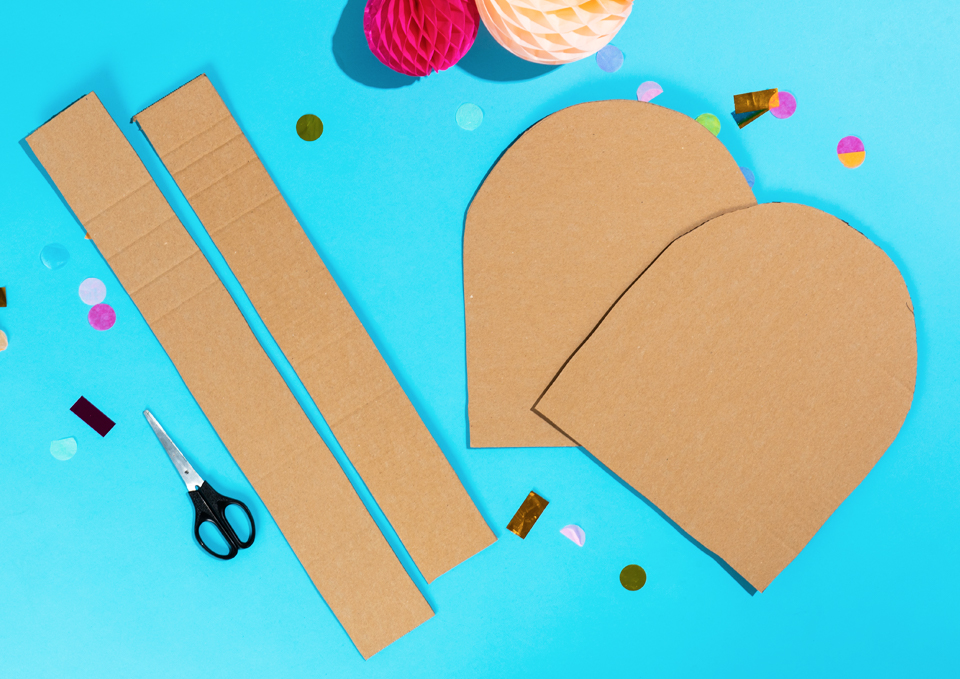
4.
Now, cut out some cardboard strips about 7cm wide.
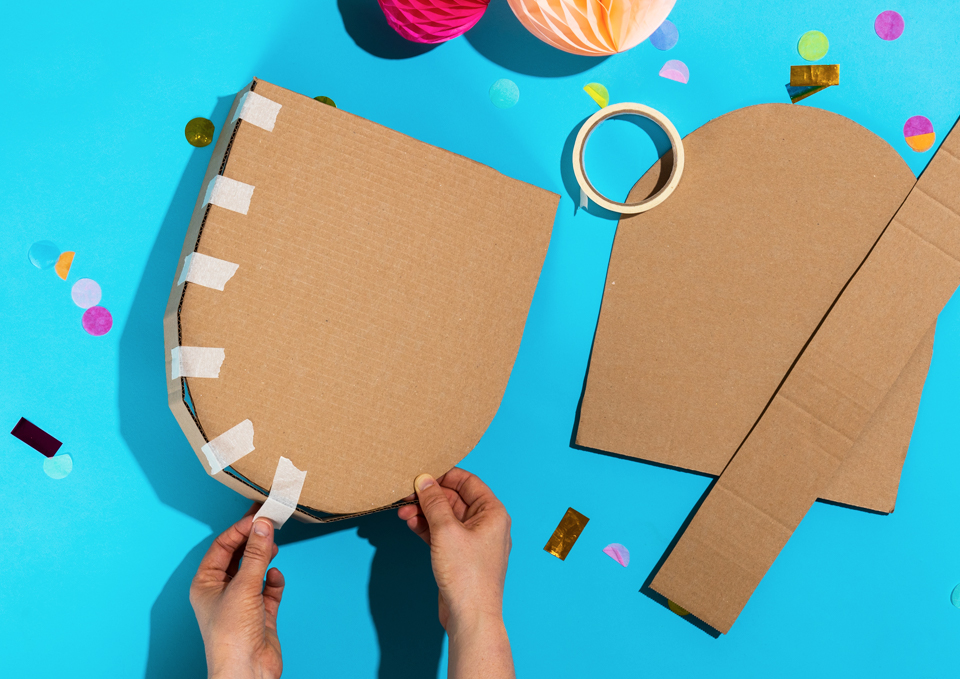
5.
Attach the strips around the edge of one of your cut-out cardboard shapes using masking tape. Make sure you use plenty of tape so your piñata is extra thwackable and doesn’t burst open too soon.
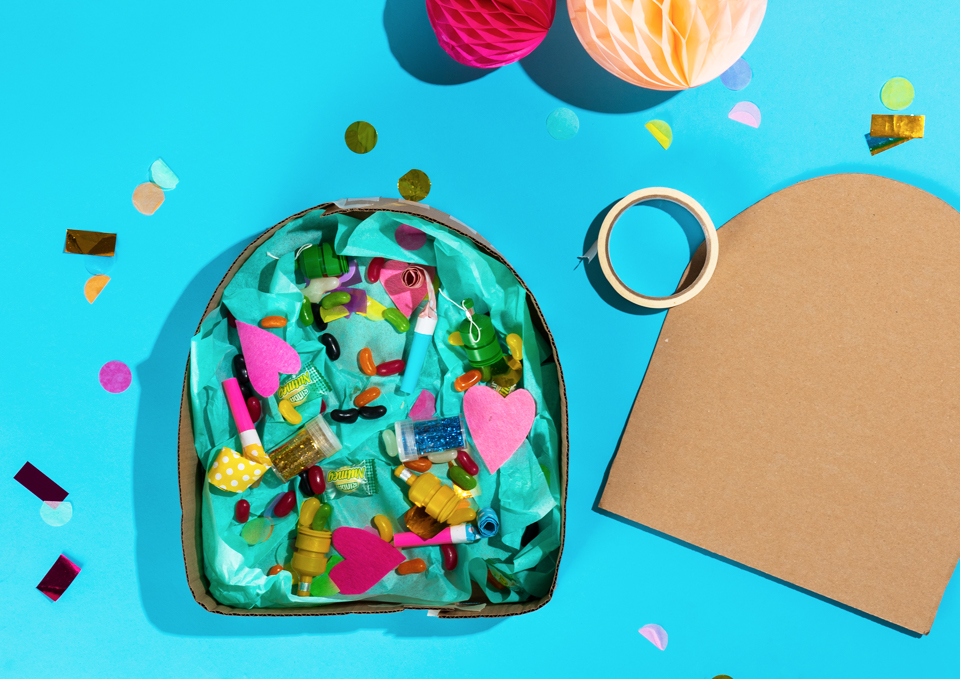
6.
Fill the piñata with sweets and goodies. Attach your other cardboard cut-out shape to the strips using masking tape.
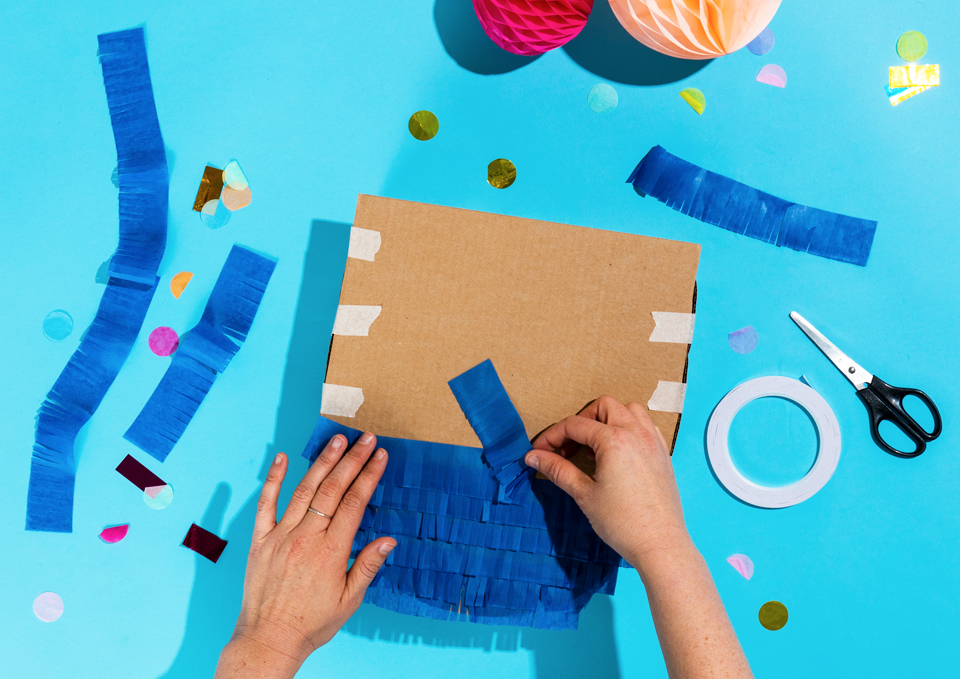
7.
Cut strips of tissue paper about 3cm wide in some jazzy colours. Cut into the edge to make a fringe. (Don’t cut all the way through!) You can speed this up by cutting through lots of layers at the same time. Stick the strips on with double sided tape, starting at the bottom and working upwards and making sure they overlap.
8.
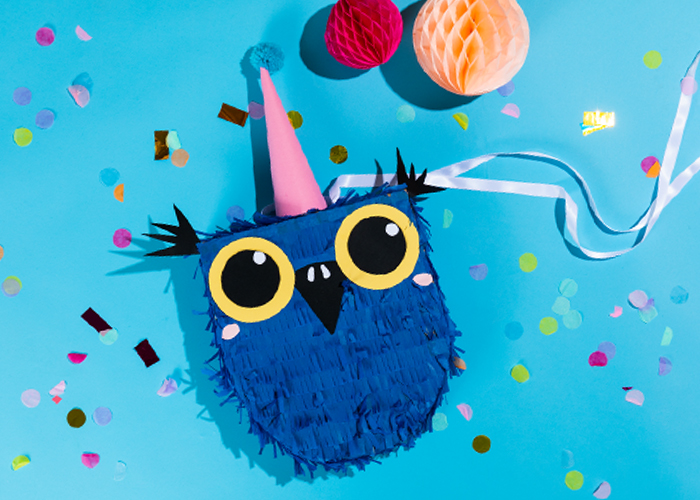
Using cardboard, make your animal’s eyes, nose, ears, mouth or other distinguishing features (unless your animal’s a worm), and stick them on with glue. Olé!